Manage Time Tracking
This article shows how to use the Manage Time Tracking page to approve or reject timesheets and review in detail previousl processed timesheets.
Overview
Authorized managers can approve or reject timesheets using the Manage Time Tracking page. The page can also be used as a report to inspect status or details of previous timesheets.
The user must have either T0 (zero) rights to a resource or T1 rights to a resource OBS node in order to use this feature.
T2 and T3 rights are “auto-approve” rights.
[If any user has been granted T2 rights to a resource or T3 right to a resource OBS node, then the timesheets of that resource or all resources in the node are automatically approved when the reporting resource clicks the Submit button.]
How To
Access Manage Time Tracking
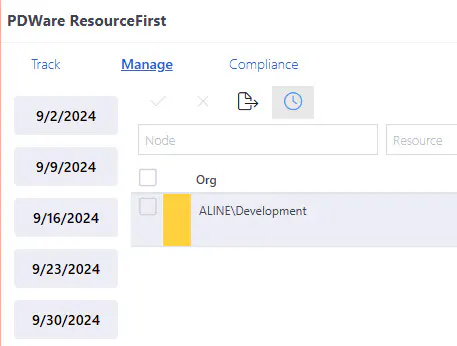
Select the Time Tracking Icon  on the Main Menu column at the left of the screen. Then select the Manage page, if it’s not already selected.
Approve or Reject Timesheets
Step 1: You will be presented with the Manage Time Tracking screen below. Here you can set filters to determine which timesheets to view. An explanation of this screen is below the image.
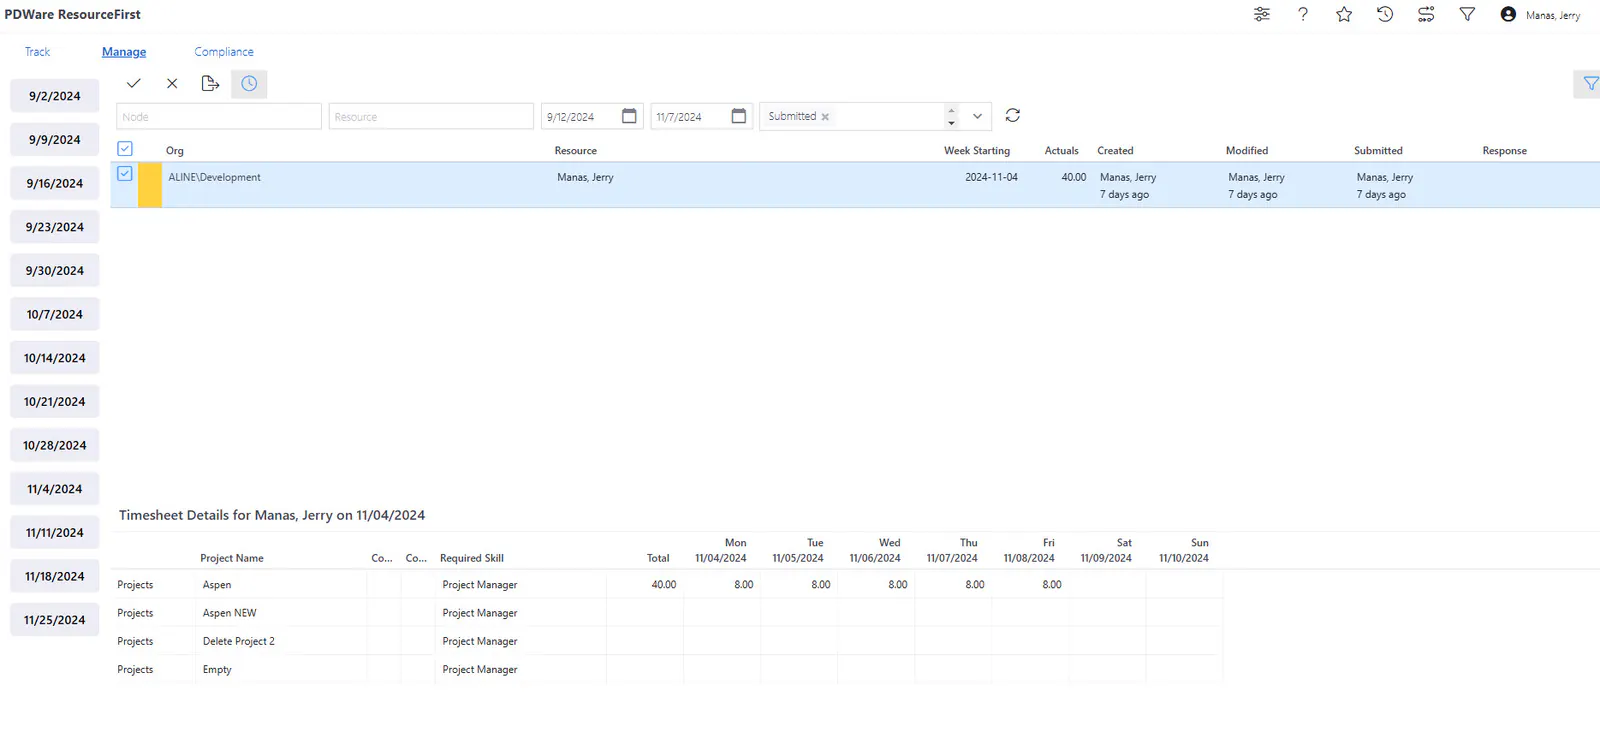
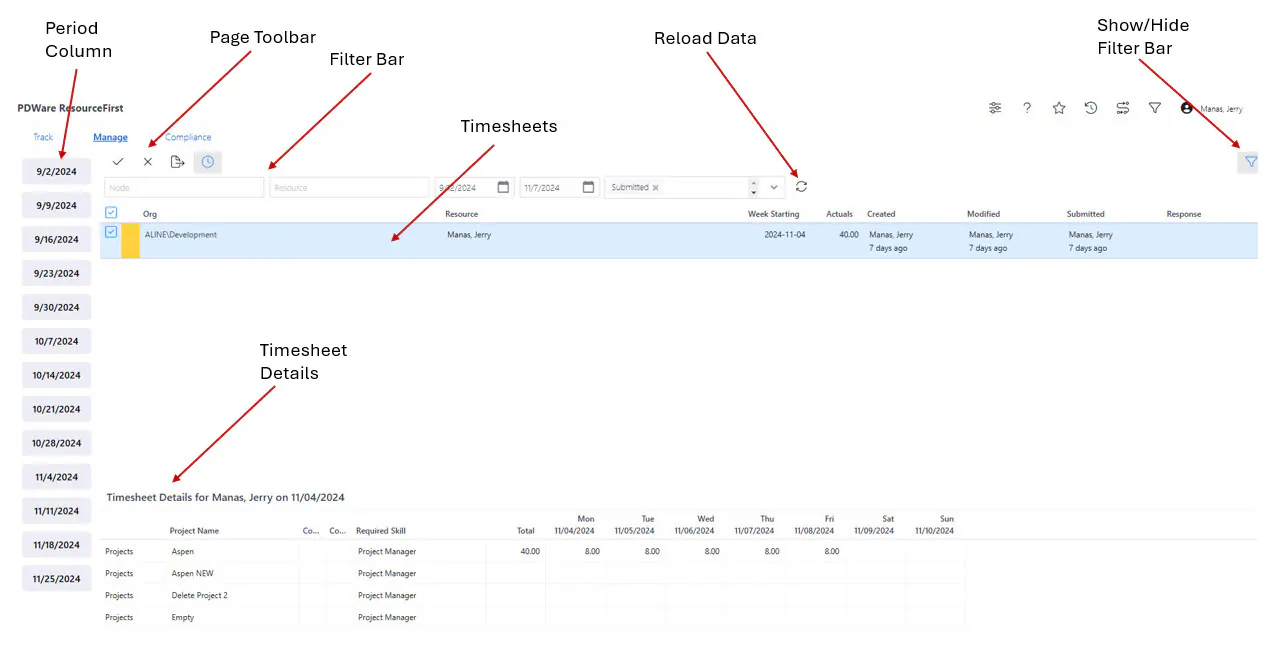
The Manage Time Tracking screen consists of several layers:
- Period column – vertical column to the left to select the week being reviewed
- Page Toolbar – to approve, reject, export, or toggle between hours/FTE Percentages
- Filter Bar – to filter which data should appear
- Timesheets pane (upper tray) – which lists the timesheets awaiting approval
- Timesheet Detail pane (lower tray) – which shows the details for the selected timesheet
The Page toolbar includes the following icons:

From left to right, they are:
- Approve Timesheet
- Reject Timesheet
- Export Timesheets (top timesheet list pane; not the bottom selected timesheet pane)
- Toggle by Hours or FTE %
The Filter Bar appears below the page toolbar as follows:

Left to right, the functions on the Selector Bar are:
- Node filter (functions as a simple text search to find the organizational OBS node for the timesheet)
- Resource filter (functions as a simple text search)
- From/To dates to show
- Status (this defaults to show Submitted timesheets, but you can also select Open, Approved, Rejected, Adjusted, and/or Not Created)
- Reload – You must click this to reload the screen after making any of the above selections
Step 2: Set your filters as desired and click the Reload button.
Step 3: Select the week you wish to view on the left Period Column. Timesheets awaiting approval will appear in the top pane, and the timesheet details will appear in the bottom pane after you click on the checkbox next to a timesheet.
Note that once you click on a timesheet in the top pane, you can click the Approve or Reject icons on the Page Toolbar as desired.
Step 4: Approve or Reject the selected timesheet via the check mark or the X.
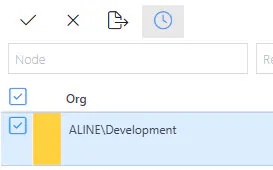
Note: You can only approve timesheets that are in Submitted status (Yellow). Blue timesheets are already approved.
If you reject a timesheet, the color will revert back to Green and the submitter can make changes and resubmit.