Administering Dashboards and Widgets
Overview
ResourceFirst allows the customization of dashboard and widgets for quick access to important data for analysis. This article shows administrators how to create global dashboards for use throughout the organization. It also shows how to create widgets from scratch, though many are supplied with ResourceFirst.
For a full overview of dashboards and widgets, along with how-to instructions for non-administrators, see Dashboards and Widgets.
How To
Create Global Dashboards
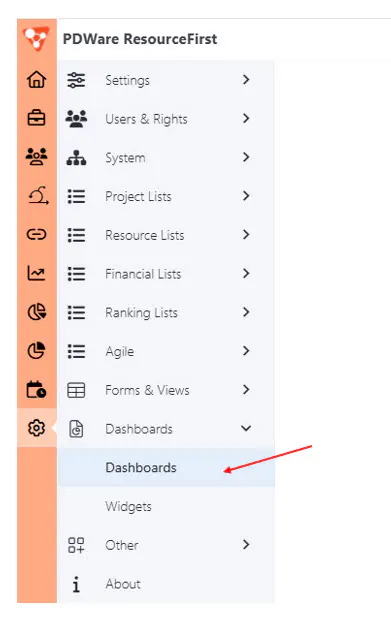
Step 1: Select the Admin > Dashboards > Dashboards menu item.
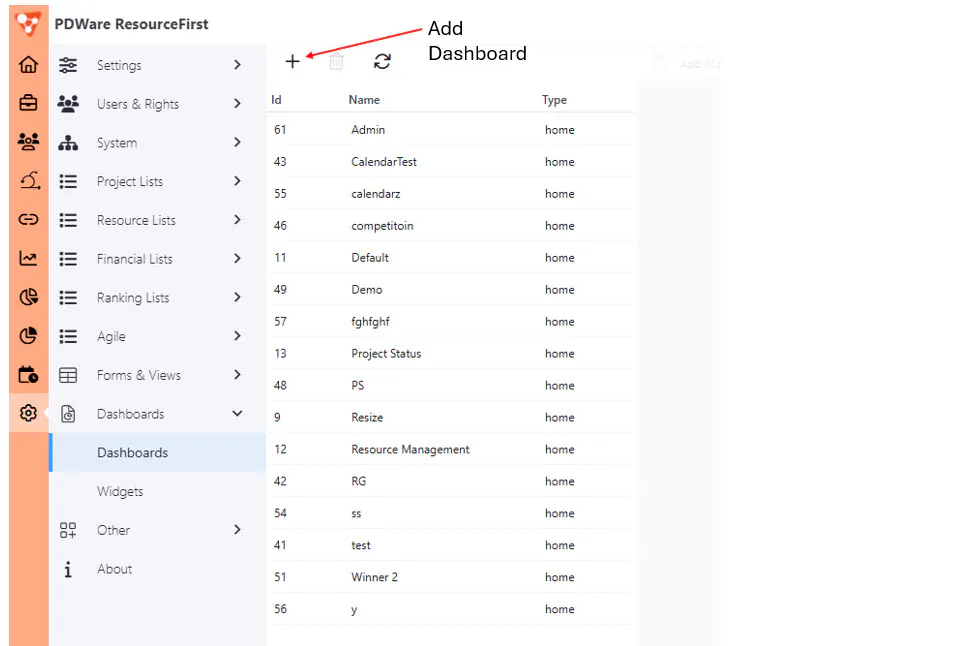
Step 2: Click the + icon to add a new dashboard.
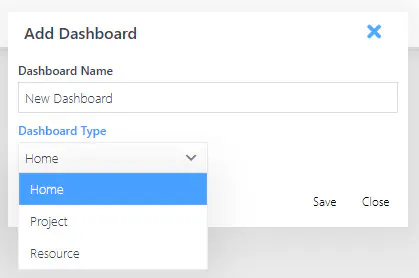
Step 3: On the Add Dashboard dialog, name the dashboard and select the dashboard type. Then click Save.
- Home = Appears on the Home page dashboard
- Project = Appears on the Projects Dashboard
- Resource = Appears on the Resources Dashboard
Step 4: The new dashboard will be added to the top of the list, and a save confirmation will appear at the bottom right of the page (pictured in green below).
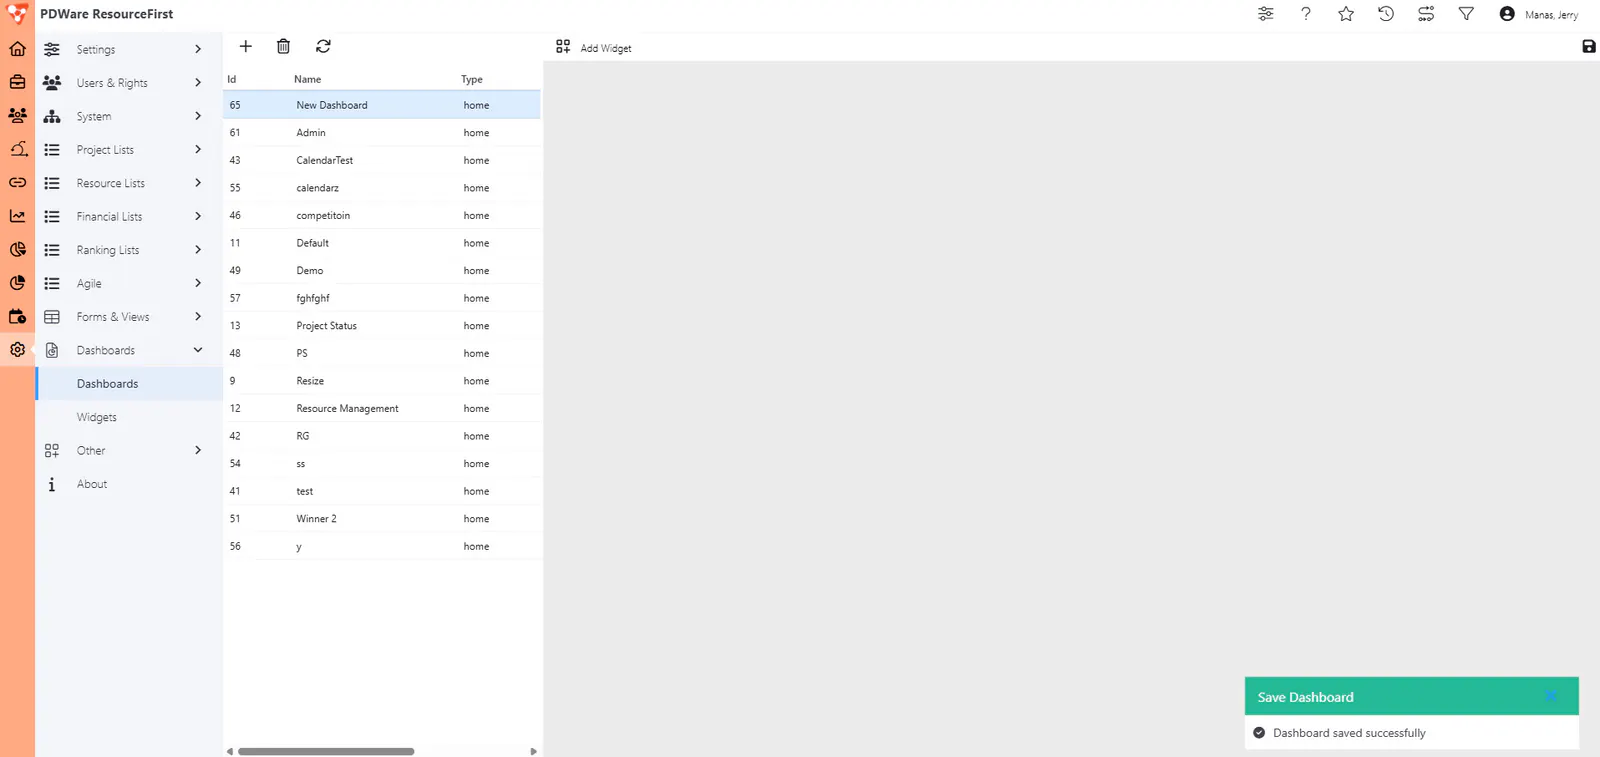
Now it is time to populate the dashboard with widgets. Go to Add Widgets below for instructions.
Delete Global Dashboards
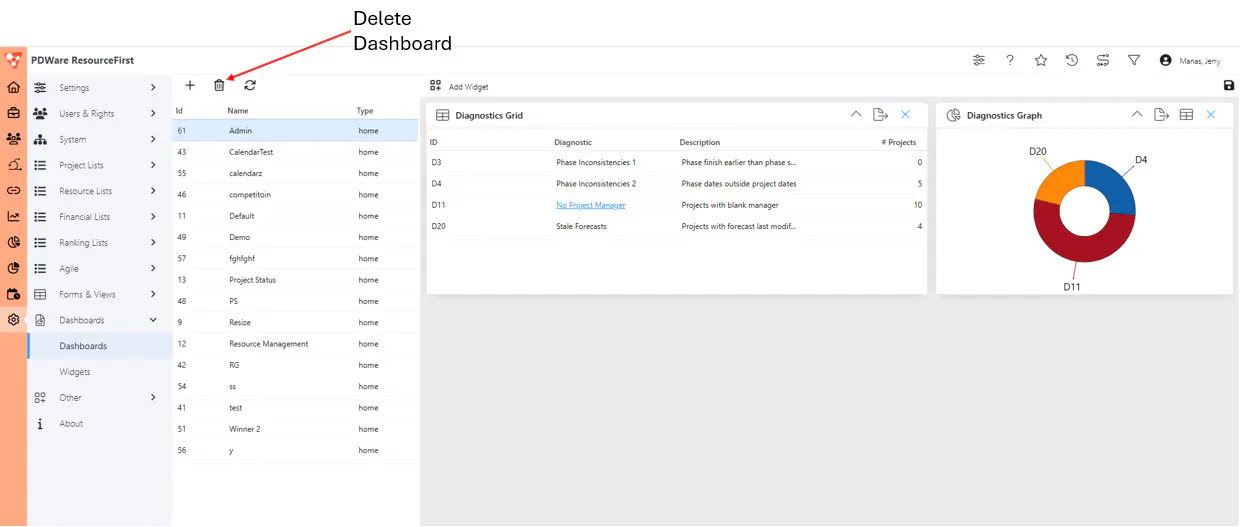
Step 1: Select the dashboard. Then click the  icon at the top of the page to delete the dashboard.
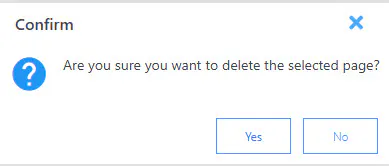
Step 2: On the confirmation dialog, click Yes. The deletion will automatically be saved.
Add Widgets
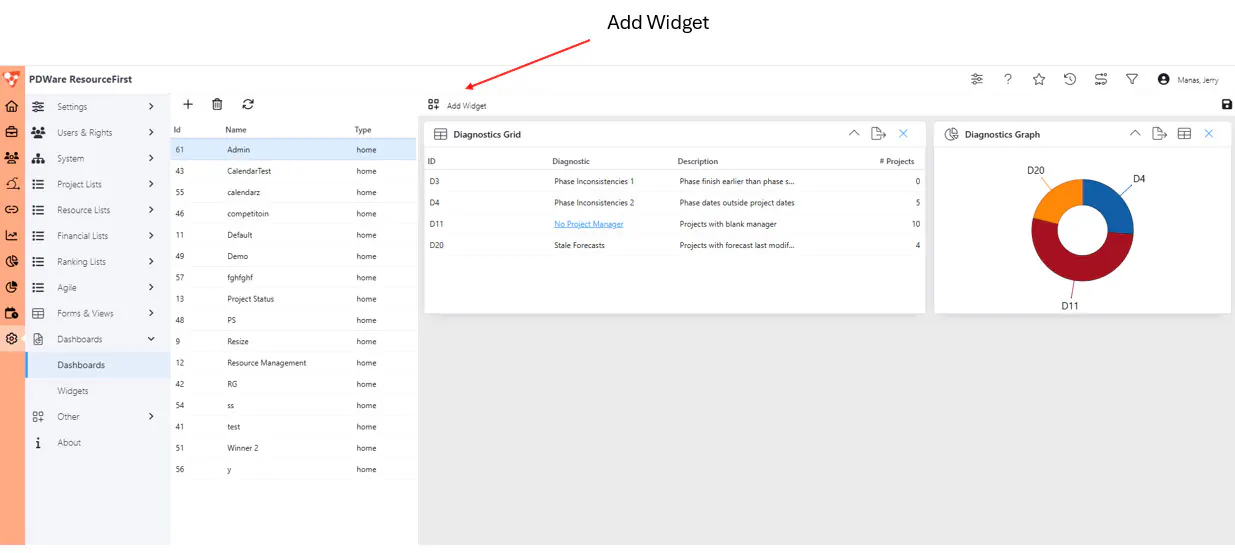
Step 1: Click on a dashboard name and then click Add Widget in the right pane.
Step 2: Follow the How-To instructions for adding widgets in the Dashboards and Widgets article (specifically, the Add Widgets section, beginning with Step 3, and continuing with the Rearranging Widgets on a Dashboard section). Be sure to save your changes afterward.
Create Global Widgets
To create brand new global widgets (as opposed to the widgets that come with the system):
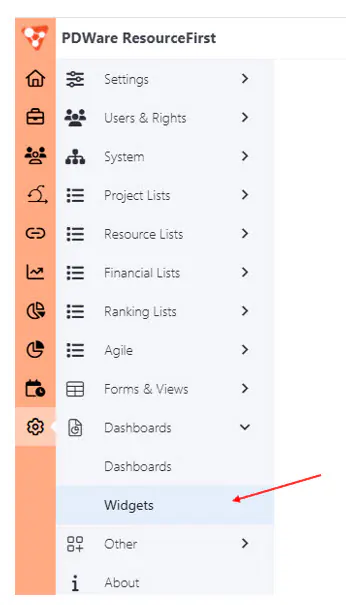
Step 1: Select the Admin > Dashboards > Widgets menu item.
Step 2: Click the + icon to add a new widget.
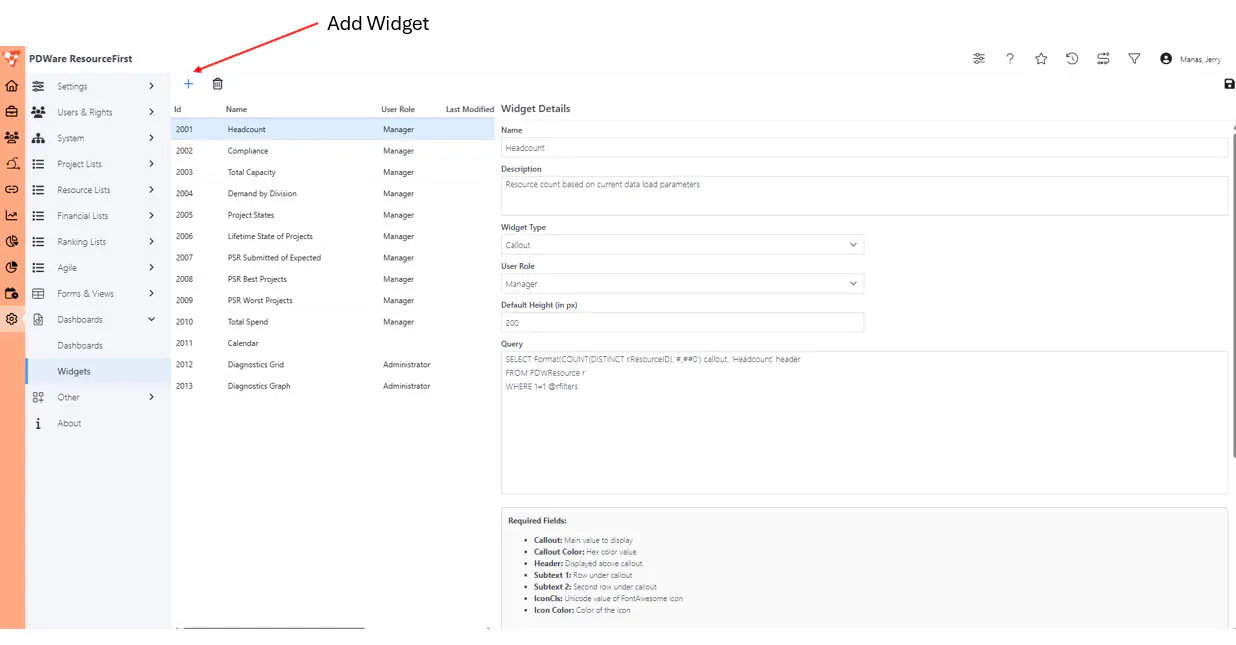
Step 3: On the Add Widget dialog, name the widget and select the User Role and Widget type. Then click Save.
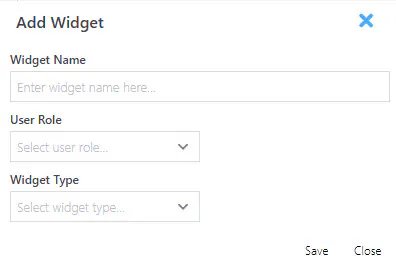
User Roles (e.g., the prime audience the widget is intended for) include:
- General
- Manager
- Time Manager
- Executive
- Administrator
Widget Types include:
- Pie Chart
- Horizontal Bar Chart
- Stacked Horizontal Bar Chart
- Vertical Bar Chart
- Stacked Vertical Bar Chart
- Area Chart
- Stacked Area Chart
- Guage
- Combo Chart (e.g., chart with a line)
- Stacked Combo Chart
- Callout (representative number or analytic)
- Grid
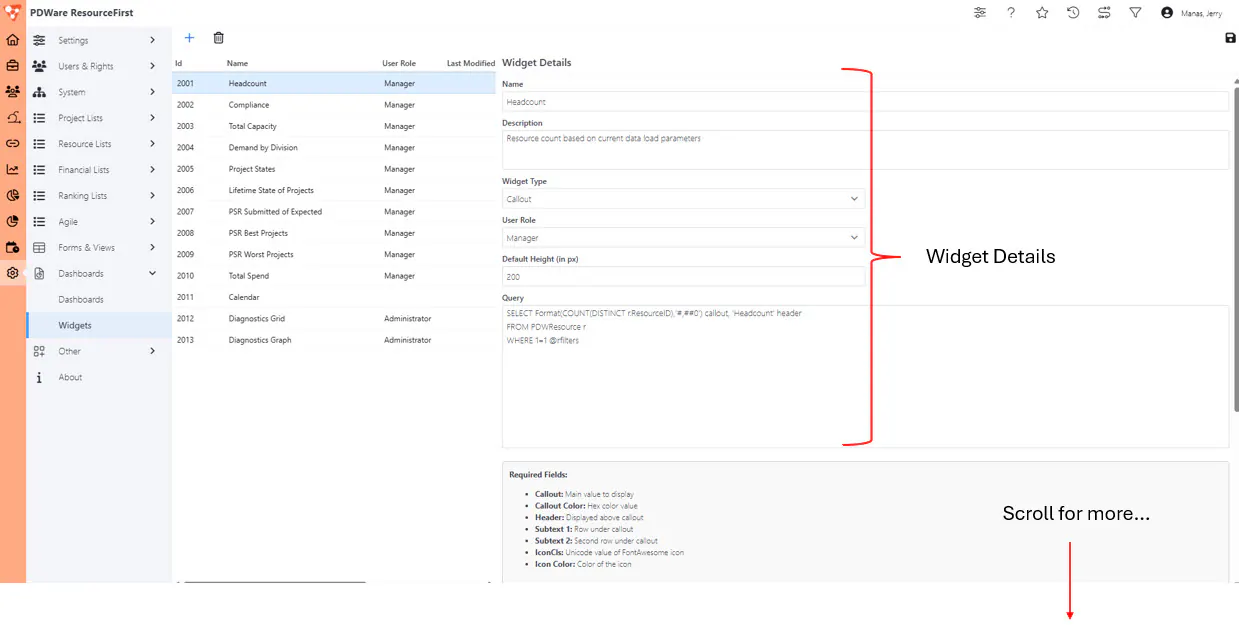
Step 4: The widget will be added and saved; A save confirmation will appear at the bottom right. Next you must add the Widget details on the Widget Details Panel.
Fields to fill out are:
- Name (already included)
- Description
- Widget Type (already included)
- User Role (already included)
- Default Height in Pixels
- Query (SQL query to populate the widget)
- Columns (fields to include in the widget)
There is also a Test button at the bottom for testing the widget to be sure the correct data is shown.
Important: Creating widgets is an advanced function. If you are unfamiliar with the database or writing queries, contact your PDWare representative for assistance.
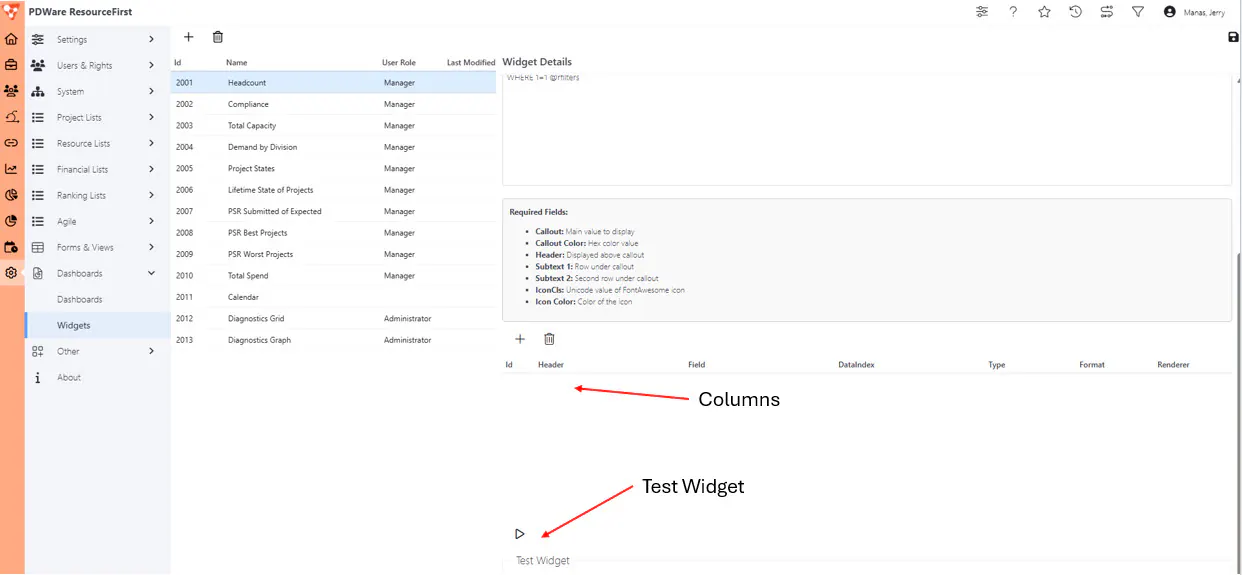
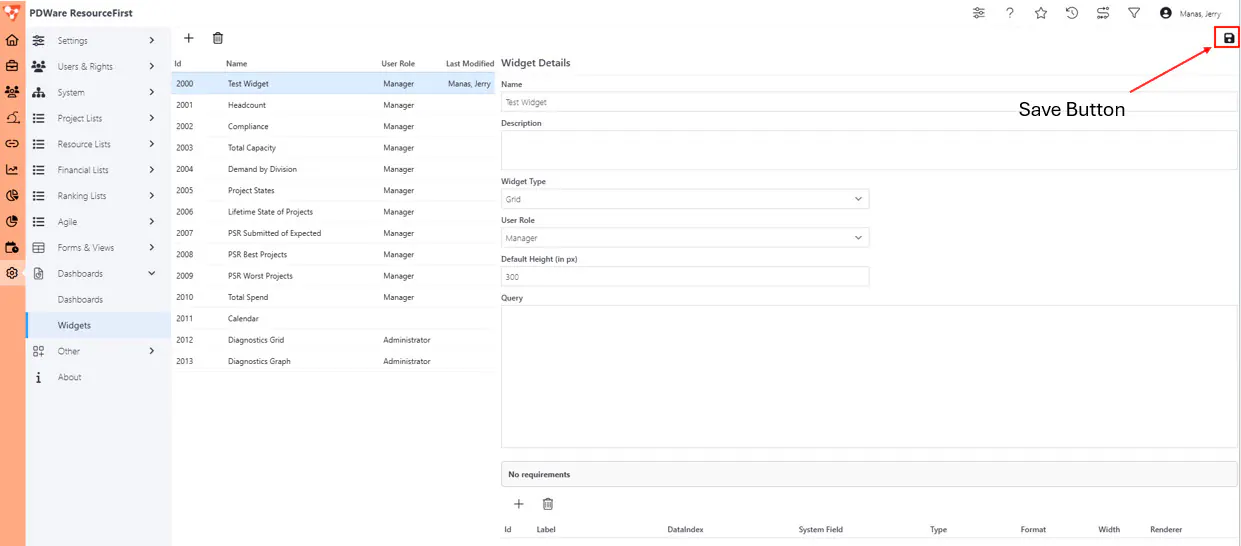
Step 5: Be sure to save your changes. Once your widget is saved, you can add it to dashboards using the Add Widgets instructions above.
Delete Global Widgets
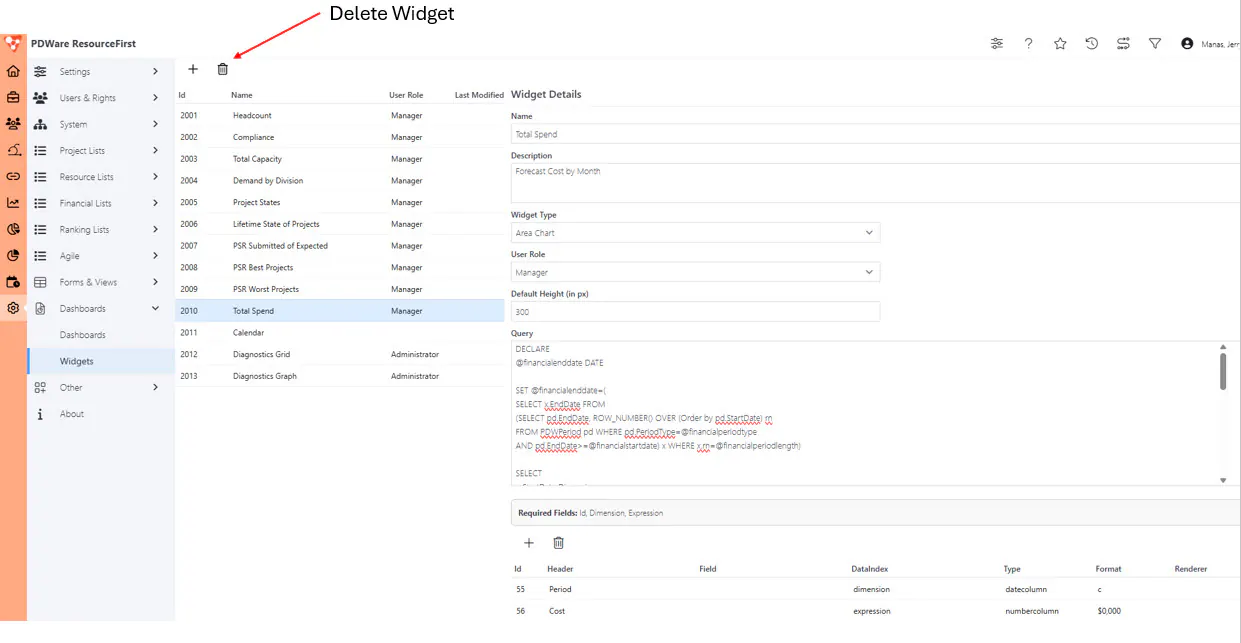
Step 1: Select the widget. Then click the icon at the top of the page to delete the widget.
Step 2: On the confirmation dialog, click Yes. The deletion will automatically be saved.